
Vehicle inventory - vehicle photos
The AutoBrief platform directly connects with multiple portals and social networks, which means that if you consistently upload photos of your vehicles, you can publish ads with a few clicks, which will help you sell vehicles quickly.
This way, you will not only secure additional opportunities for faster inventory turnover but also for expanding your brand and company's recognition.
Adding a vehicle when listing it in inventory
In the second step of vehicle entry, you can add photos of the vehicle and publish them to inventory along with the vehicle. This is the easiest way to add photos, which can be useful for all advertising processes.
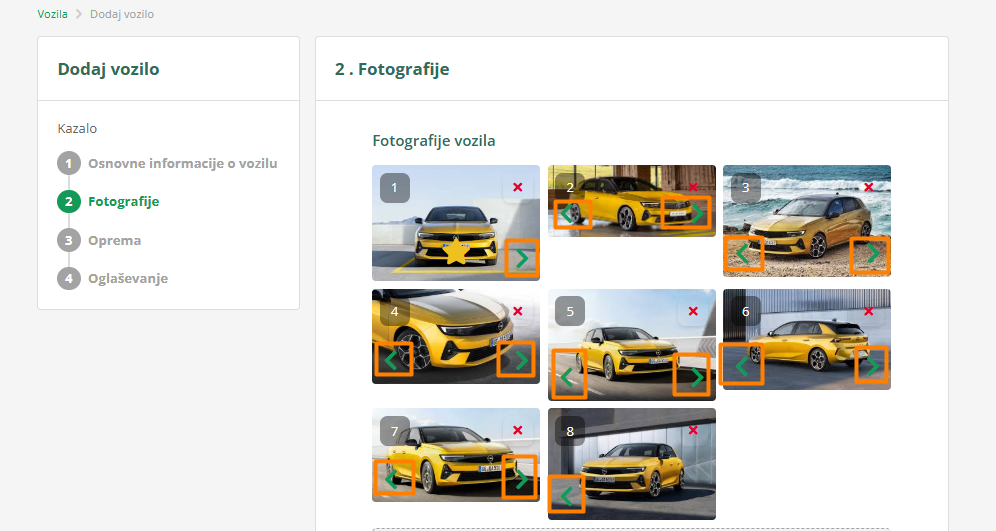
In the photo drop zone, you can drop or select as many photos from your computer as possible, which are not larger than 7 MB. They can also only be in jpg, jpeg, png, gif format
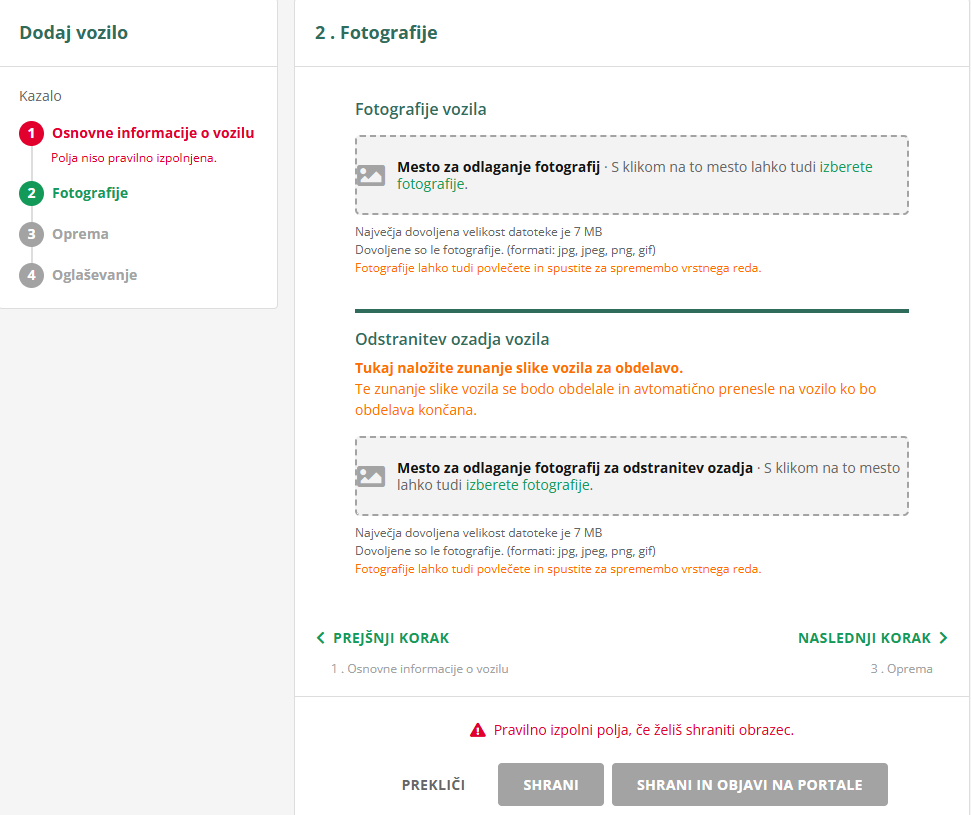
The cover photo, which has a star symbol below it, is always the first photo. This will always be displayed with the vehicle. If you want to change it, drag another photo to the first position with the left mouse button, or click the star on the desired photo.
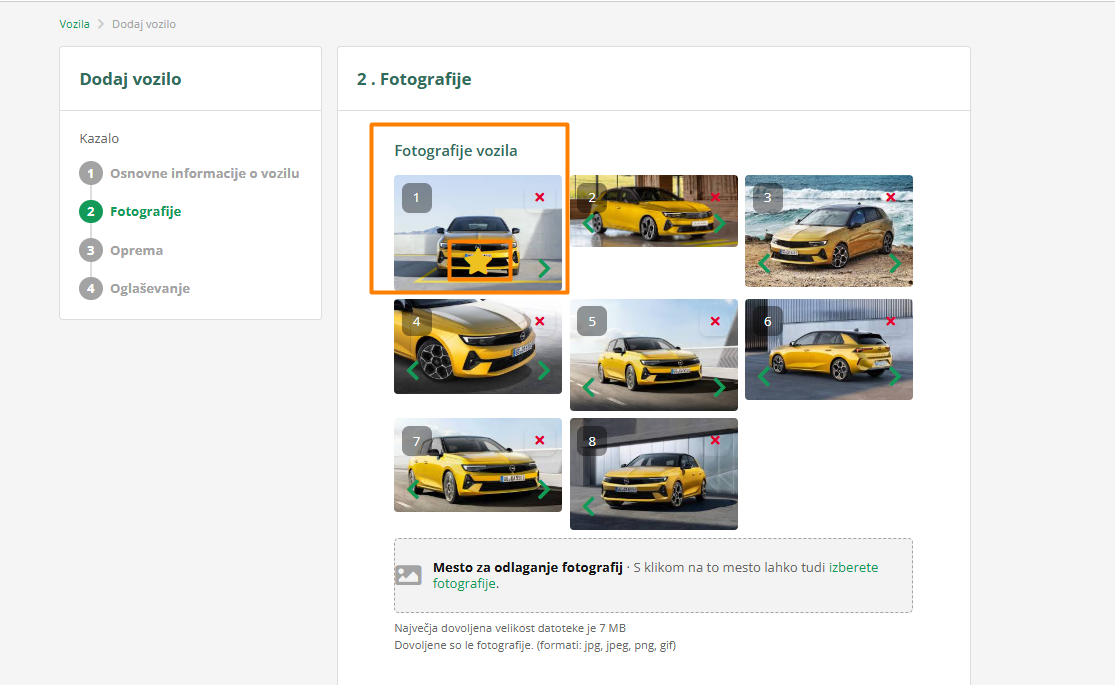
You can also change the order of other photos in the same way, by left-clicking and dragging. Alternatively, you can use the green arrows, which move the photo one position forward or one back (depending on which direction you want to move it).
Adding photos to an already published vehicle
Once photos are entered, they can also be edited, added, and deleted - or their order can be changed by dragging them again with the mouse or the green arrow to rearrange them.
To add images, click on Vehicles and select the vehicle from the list for which you want to edit photos.
The first option is to click the EDIT button in the top right. You will move to the second step and add photos, or change their order.

The second, faster option is to click the camera icon next to the vehicle's main data.
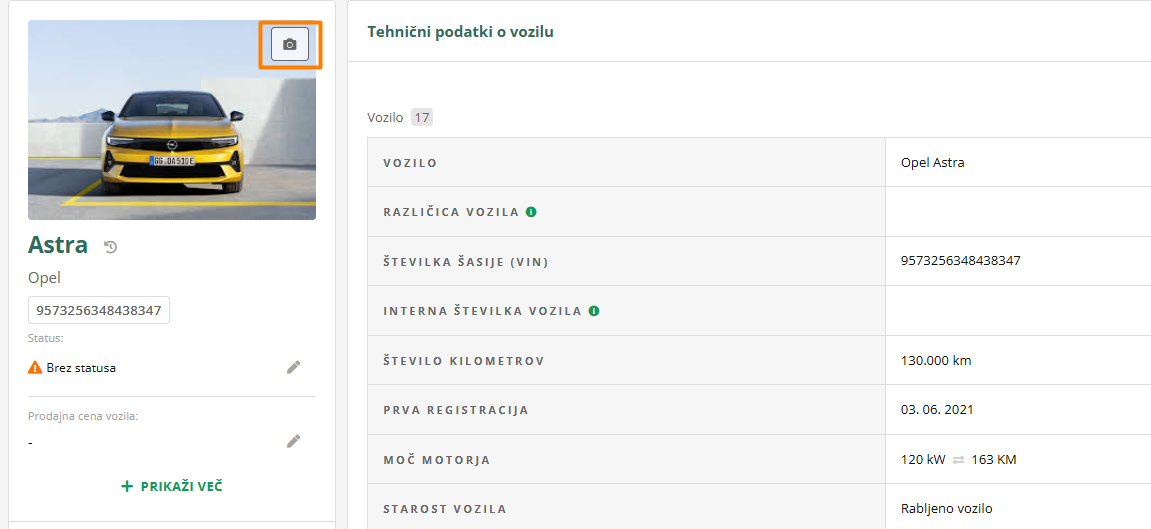
A pop-up window will open, showing all vehicle photos.
You can add new ones by dragging and dropping or by selecting them with a click on EDIT PHOTOSYou can also easily delete them by clicking the
X next to an individual photo. With the button REMOVE SELECTED PHOTOS, you can instantly delete all uploaded photos.
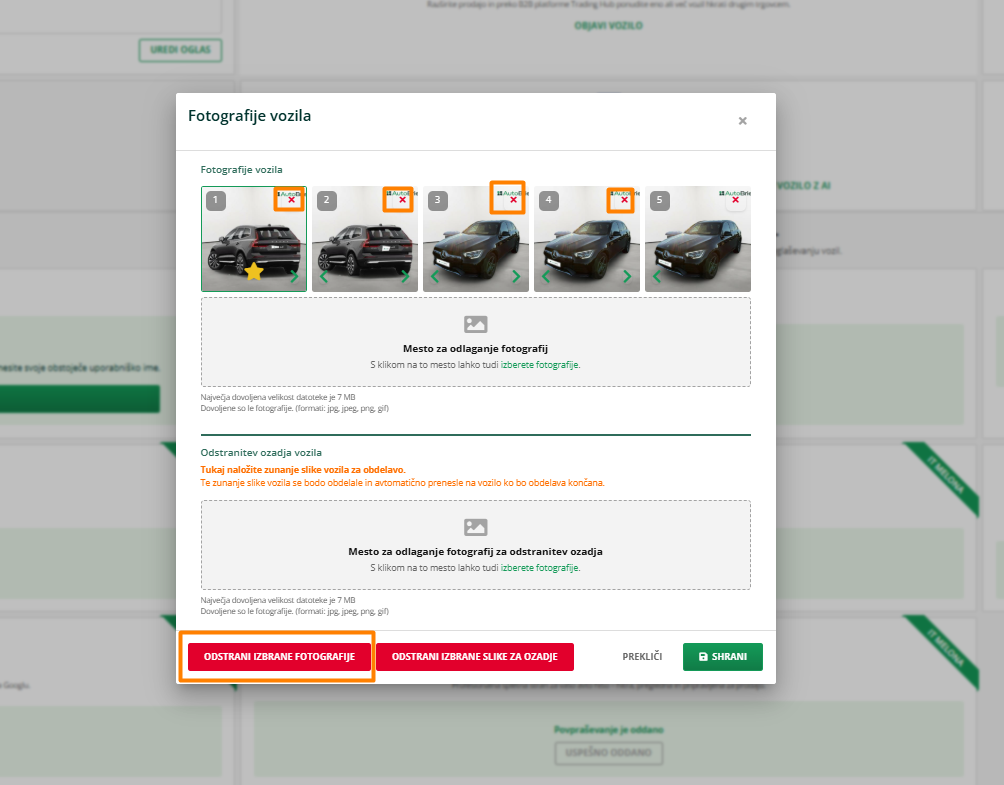
You can also change the order of photos in this view in the familiar way by left-clicking and dragging the photo, or left-right with the green arrow.
Background removal
In AutoBrief, it is also possible to further edit photos by having the system automatically remove the background and process it. These external vehicle images will be processed and automatically transferred to the vehicle once processing is complete
If you want such photos, first click the camera icon on the vehicle to which you want to add processed photos. The Vehicle Photos pop-up window will open.
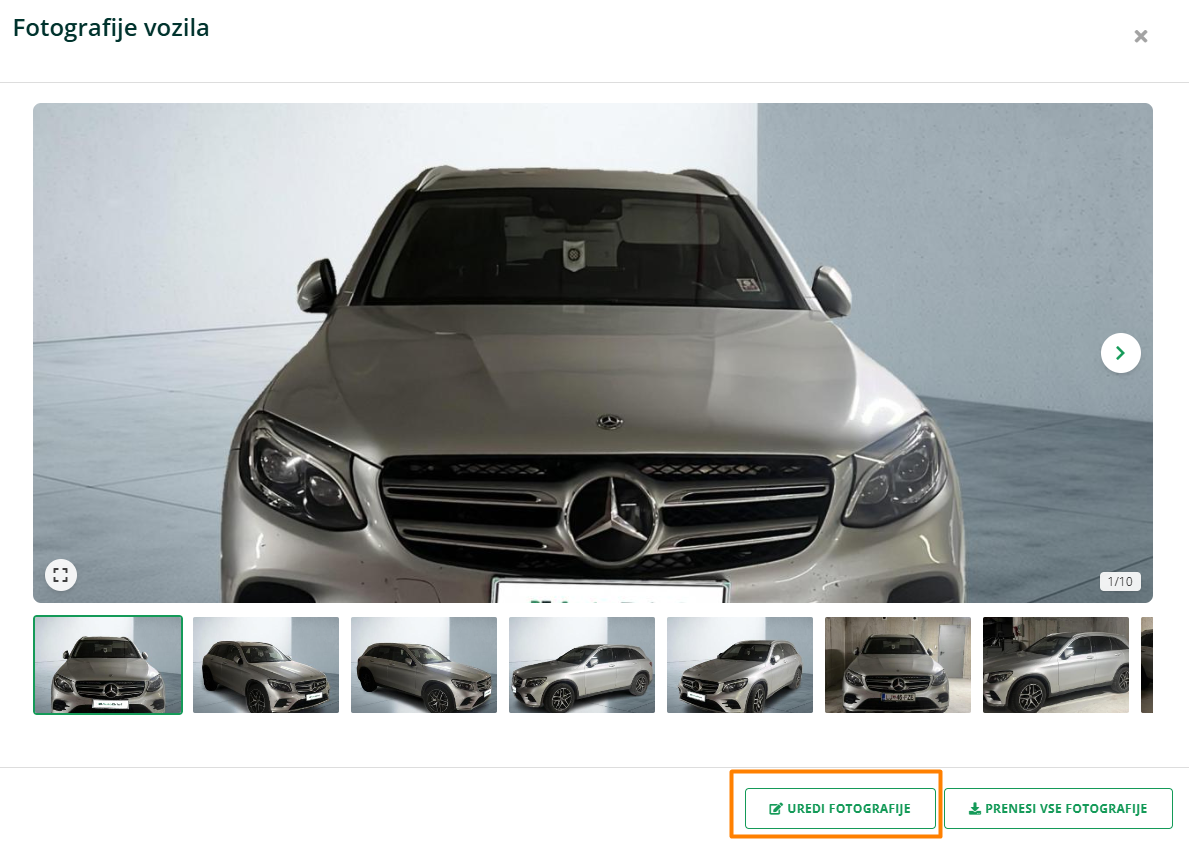
Click the EDIT PHOTOS button. There, among other functionalities, is also the section Vehicle background removal
For every photo where you want to remove the background, upload it to this photo drop zone, or select them from your computer. Once uploaded, the photo will appear in the background removal area.
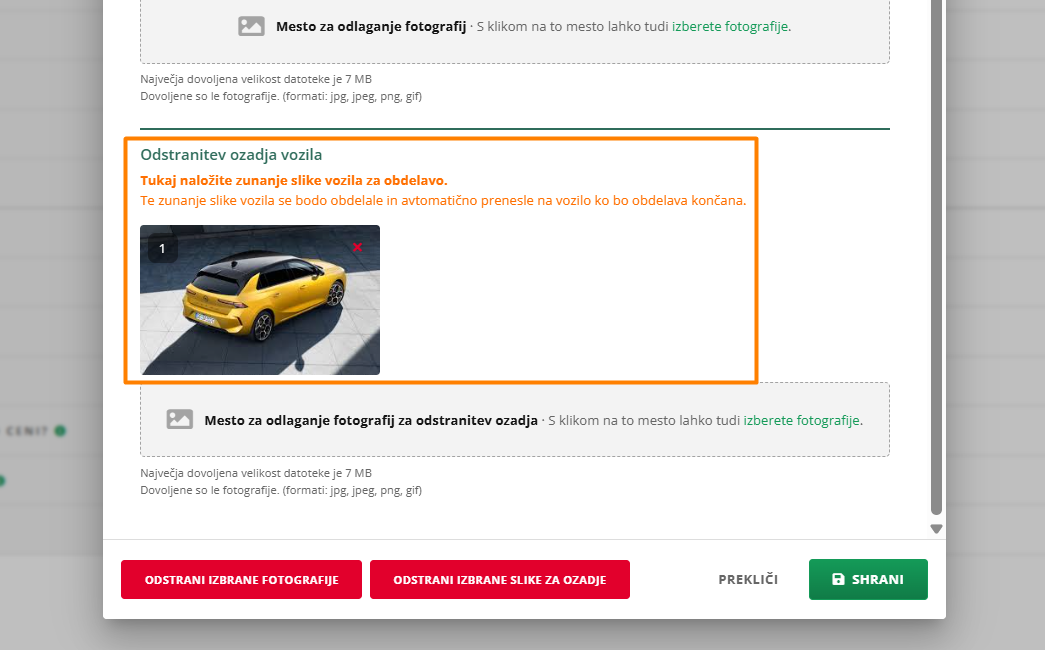
The photo will be processed and automatically transferred to the vehicle once processing is complete.
Professionally edited photos
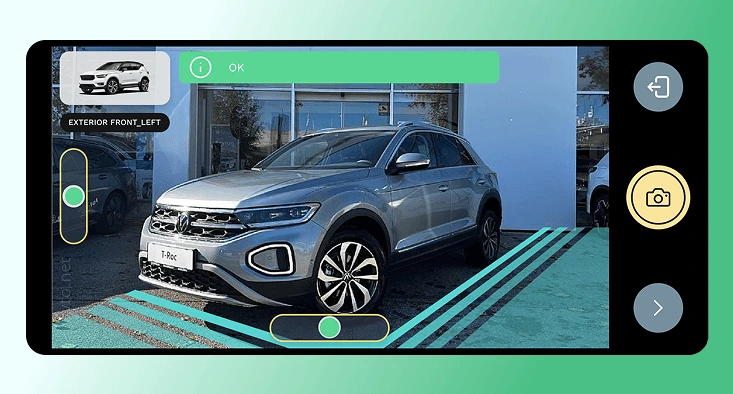
If you want even more photo editing options, you have the opportunity to use the new application CarPeak. With it, every dealer – even without photography knowledge – can create professional, sales-ready photos in minutes.
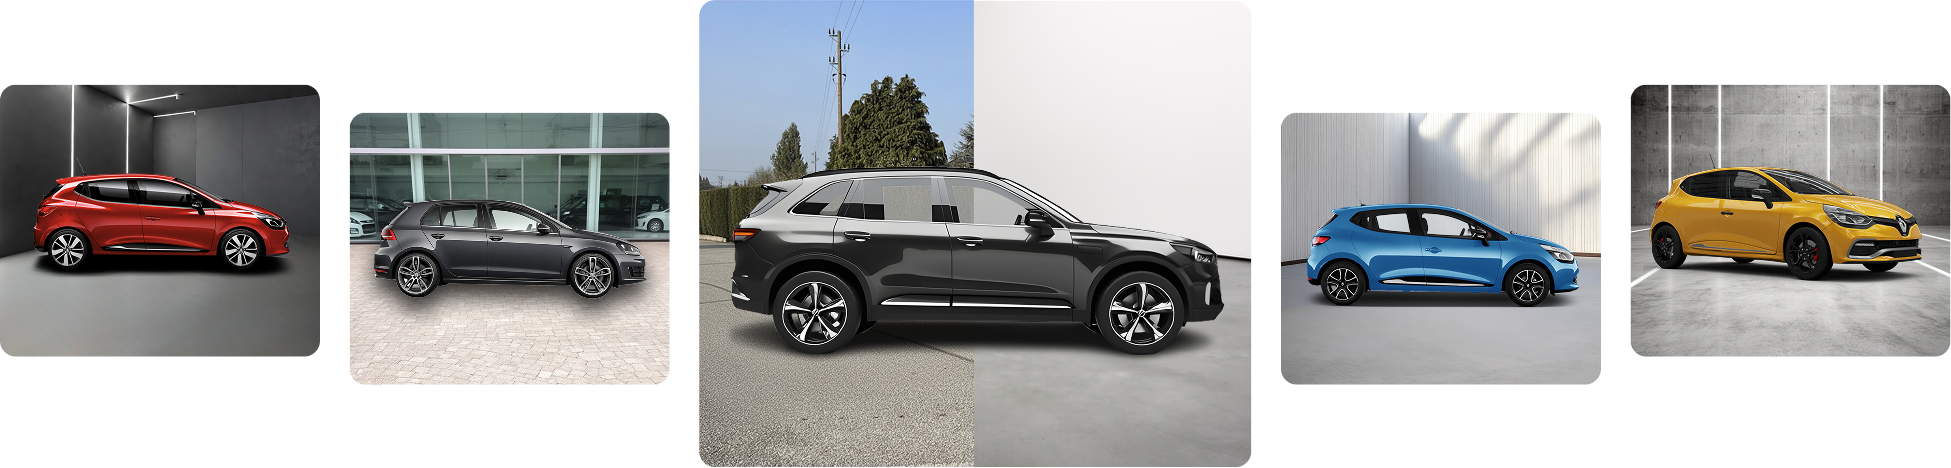
What does the CarPeak application offer?
- Guided photography: the application guides you step-by-step to capture all key angles of the vehicle.
- Smart processing: backgrounds, license plates, logos – everything is processed automatically.
- Always the same standard: photos of all vehicles look uniform and tidy.
Read more about CarPeak's functionalities and advantages here
Selection of photos for publication
Regardless of how many images you add to a vehicle in AutoBrief inventory, you don't need to select all of them when you advertise it
When you want to advertise a vehicle, select a provider and click the button ADVERTISE. Go to the step that contains photos. Automatically displayed are all photos that you added to the vehicle.
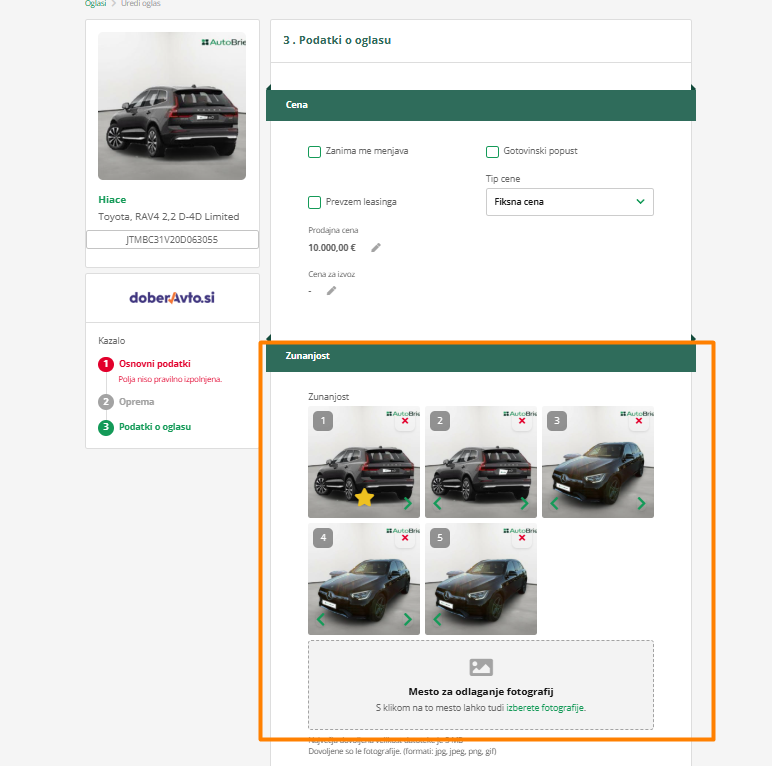
If you only want to publish three photos that you deem necessary for the ad, then click the X sign on the photo, which you do not want to publish on the portal. A pop-up window will appear, requesting additional confirmation for deleting the photo. Click CONFIRM
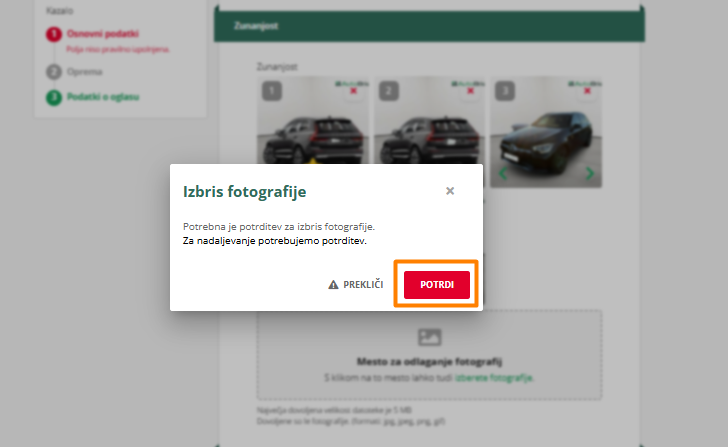
Important: By confirming, the photo will be deleted from the ad, but not from AutoBrief. All photos will still be available for the vehicle, which you can use for the next ad.